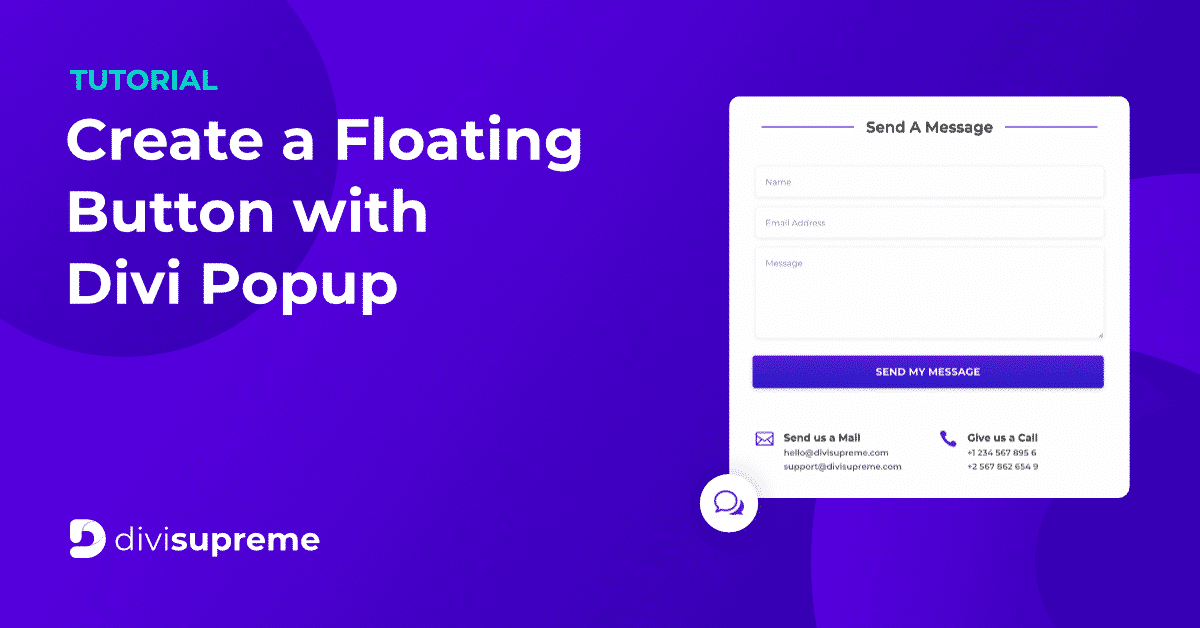
Floating button plays an important role. It’s always the most charming and visual elements and presents the high efficiency of action.
Since we’ve got a very beautiful and Most Powerful Divi Extension called Divi Popup in our Divi Supreme Pro plugin then why not we create some helpful Tutorial + Freebies for you. Today we’ll see how to create a Floating Button on Divi site with Contact Form (or anything-kind of) Popup using the Divi Popup extension.
We’ll be taking advantage of Divi’s Theme Builder to create a Global Floating Button Icon. Let’s get started !
Preview

Before we start
Before we can start using the Popup extension, first make sure that it’s activated in the Plugin Settings page.

Let’s See How to Create it
Alright, it’s now time to have this Functionality on your site as well. First of all, download the Layouts by clicking the button below. And Extract it to your Desktop.
After Downloading and Extracting the .zip file to your Desktop, you’ll see Two Files one for some Custom Stylings for Floating Icon and one for Layouts. Now open up the style.css file and copy all the code from there and paste it to Divi –> Theme Options –> Custom CSS box or you can paste this CSS where you mostly add your CSS. This is CSS is only added for adding Animation to the Floating Icon. If you don’t want to have Hover Animation and don’t want to use Code then you can skip this step.

Now you’ll need to Add Layouts to Divi Library. For this, go to Divi > Library and click on Import & Export Button then click on the Import tab and choose the File named “Floating Icon with Contact Form Popup – Divi Supreme.json” from the Package you’ve downloaded and lastly click on Import button to Import the Layouts to Divi Library.

After the Import is done, you’ll see two new Layouts in your Library Like this.

Now let the “Contact Form Popup 1” Layout stay there and let take the “Floating Icon” to the work. Make sure that you’ve created a Footer using the Theme Builder so we can easily add our Floating Icon to the whole site. Go to Divi > Theme Builder and Edit Global Footer.

As our “Floating Icon” is a Module we’ll need to insert it anywhere in the Footer, because it’s a Fixed Element It’ll not gonna take place as content. Simply add a new Module and open up the “Add From Library” tab and Insert the Module there.

Ok now you can go to WireFrame View and open the Blurb Module(Floating Icon) Settings –> Advanced > Visibility and make sure that you select Popup as “Contact Form 1” from Divi Library or you can even select your own If you got one.

Ok, that’s it Save all the Changes and see your website in action. But If you’re facing Issue with the Position of Floating Icon well you don’t need to worry, here’s a quick fix. Open the Blurb (Floating Icon) Module Settings –> Advanced –> Position and here you can control the Horizontal and Vertical Position of the Icon easily.

Adding Hover Animation to Floating Icon
If you want to add Hover Animation to the Icon all you’ve to do is Reset Padding of the Blurb Module (Floating Icon) and add a class “ds_floating_icon” to the Blurb Module.

Final Result
This is How it looks on Desktop. Amazing!

And also It’s 100% Mobile Responsive. Here’s how it looks on Mobile.

Conclusion
Lastly, we’d like to tell you that with Divi Supreme’s Popup extension the possibilities are endless, you can create almost every kind of Popup like Popup on Page load, scroll-triggered, Exit Intent and many more options are available in the Settings. So why not Give it a try Divi Supreme a try today and also let us know what you think about this Creative Idea. We’d love to hear from you in the Comments Section below.
How to access the Divi Popup Extension
To use the Divi Popup extension, you need to purchase the Pro version of our plugin at the cost of $40 for one website and $79 for unlimited sites. Both plans come with a 30% discount on renewals while we also offer you premium support and free updates during the licensing period. Want a more lasting plan? We also offer a Lifetime plan which goes for only $199. With it, you can install Divi Supreme Pro on unlimited websites while you also enjoy premium support and free updates forever.
Our goal is to assist you to create beautiful and effective business websites without impacting negatively on user experience.
So, give Divi Supreme Pro a try today, and don’t forget to share your experience with the Divi Popup extension in the comments section below.
Or try out the Divi Supreme Lite
Divi Supreme Lite Offers 20 Modules and 3 Beautiful Extensions and using them you can easily extend your site’s functionality.


From post directions:
“Ok now you can go to WireFrame View and open the Blurb Module(Floating Icon) Settings –> Advanced > Visibility and make sure that you select Popup as “Contact Form 1” from Divi Library or you can even select your own If you got one.”
Under the Settings –> Advanced > Visibility I do not see the same image the is instructed. I do not see where I can place/pick the contact form. Only the normal DIVI visibility items are listed. I am missing something. Please advise… Thanks Ken
Hi Kenneth,
We’ve updated the article on the top part. Before we start using the Popup extension, first make sure that it’s activated in the Plugin Settings page. After you enabled it, the Popup option should be there.