Do you like the Pricing table that the Elegant Themes Pricing page has? One of the cool and special thing about their Pricing table is when you hover to any text list you see a nice little tooltip which looks really cool and really engaging. It shows an extra detail of each list. This way, your visitor will have a better understanding of your pricing features. The ultimate reason why you should opt for tooltips is to explain the core product features to the user.
So today we’ll show you how to achieve similar tooltip hover effect just like the ElegantThemes pricing page. We’ll be using the Divi Icon List Module. The Free version of the Divi Supreme has this Divi Icon List module, however it doesn’t have the option to add a tooltip on hover. For have the tooltip, you’ll have to purchase Divi Supreme Pro plugin and then continue to this tutorial.
But If you already have Divi Supreme Pro version, then let’s begin!
We’ll not be using the Pricing Table module we’ll be creating a custom Pricing Table or you can get a Pricing Table from Divi Mobile App Layout. You can simply Import the Pricing Page Layout on your page and then delete the text Module.

Now add a new Module at the same place as Divi Supreme Icon List.

After you’ve added the Divi Icon List module. Click on the + Add New Item button to add a new Icon list.

Now you’ll need to set up your text like enter the feature of your product/service. And then choose the Icon we’ve selected a Simple Tick icon from Divi Icon Library.

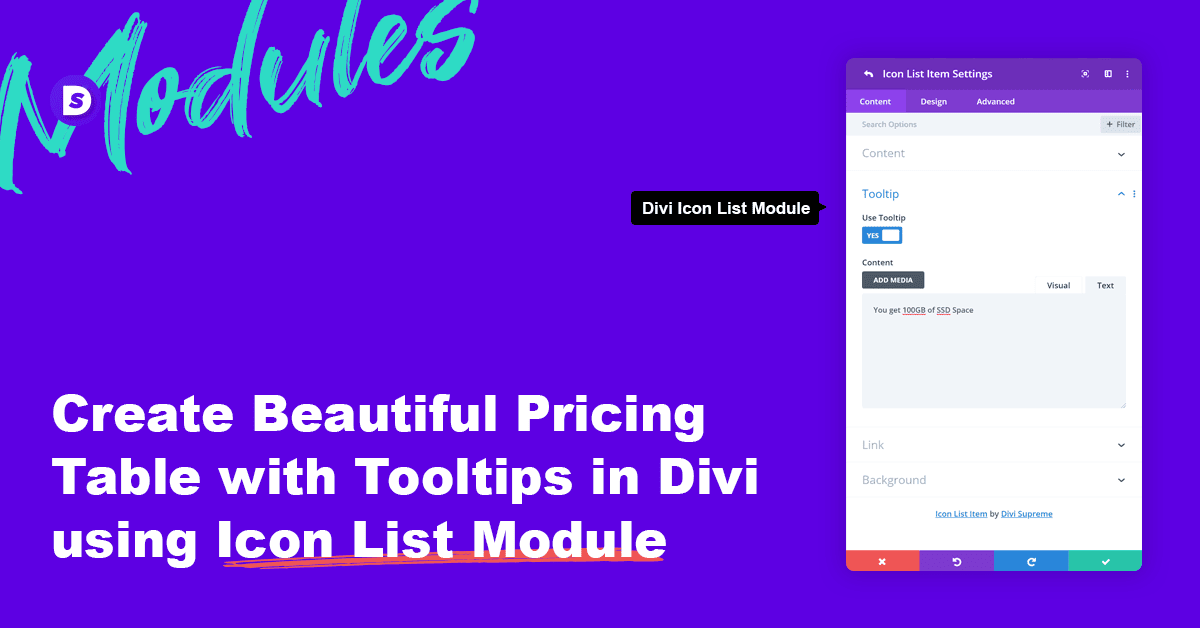
Now Scroll down a little you’ll see a Tooltip panel just open it up and enable the use of Tooltip. Now enter the info about your Plan/Service.

Now click on the back button at the top left corner of the panel go to Design Options and change the color of the Icon to your own and now go back to Icon List item settings and then open up design options and change the Tooltip direction to Left and set the width of the Tooltip to fit the screen.

Now add some spacing between Icon list items.

You can design almost every part of the tooltip and Icon and you also have so many other design options. Ok, so when you’re done with that just duplicate the Icon list and change their text content.

Now copy the Icon List module and paste it on the other side.

Now go to Icon list module design settings and change the icon and text color to white.

Now open up Item Settings and change the direction of the tooltip to right.

Now copy the tooltip styles.

Now click on the back icon on the top left corners and paste the styles like this.

Result
And you’re done. Let’s take a quick look at how it works.

So that’s it for today’s tutorial. We hope that you find this article helpful and don’t forget to leave your thoughts in the comment section below. And if you want more awesome stuff like this, make sure to subscribe to our newsletter. Have a great day 😀.
How to access the Divi Icon List Module
To get access to Icon List Module, you need to purchase the Pro version of our plugin at the cost of $40 for one website and $79 for unlimited sites. Both plans come with a 30% discount on renewals while we also offer you premium support and free updates during the licensing period. Want a more lasting plan? We also offer a Lifetime plan which goes for only $199. With it, you can install Divi Supreme Pro on unlimited websites while you also enjoy premium support and free updates forever.
Our goal is to assist you to create beautiful and effective business websites without impacting negatively on user experience.
So, give Divi Supreme Pro a try today and don’t forget to share your experience with the Divi Icon List Module in the comments section below.
Or try out the Divi Supreme Lite
Divi Supreme Lite Offers 18 Modules and 3 Beautiful Extensions and using them you can easily extend your site’s functionality.
The Divi Icon list module is also included in the free version but you don’t have the option to add Tooltips. For that, you’ll need to upgrade.


0 Comments